ACCURATE DIAGNOSES: HOW TO CHECK FOR WORN OR LOOSE CHASSIS PARTS
Performance Assurance
As chassis parts begin to wear, driving safety and pleasure can be compromised. Worn or loose chassis parts can interrupt a smooth, quiet ride and cause a variety of other symptoms. These can include changes in handling and steering, rapid or uneven tire wear and even poor fuel economy.
Our latest on-demand webinar shows how to diagnose and check for worn or loose chassis parts, including:
- Preliminary inspections
- Steering linkage inspections
- Ball joint inspections
- Bushing and other component inspections
PRELIMINARY INSPECTIONS
Road Test:
- First, drive the car slowly and check steering, acceleration and braking response.
- From a stopped position, accelerate vehicle, feeling for any clunking, which could indicate worn control arm bushings.
- Drive over uneven pavement while listening for any knocks, rattles or clunks.
- When safe, break to a complete stop, paying special attention to any irregular noises once the wheels stop and the vehicle settles.
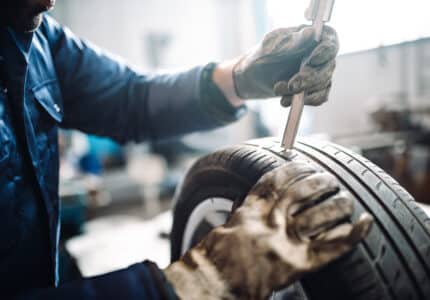
Tires: Check the pressure and overall condition of each tire.
Ride Height: Using the procedure outlined in the vehicle’s service manual, check the ride height to expose any potential issues with the springs and ensure a proper baseline for suspension geometry.
Undercar visual: Check the underside of the vehicle for any structural issues and inspect all components.
STEERING LINKAGE INSPECTIONS
Dry Park Test: With the engine off/transmission in park or neutral with parking brake engaged and steering unlocked, have an assistant rock the steering back and forth while you check for looseness or free play in the steering system from underneath the car. A dry park test is extremely effective in exposing loose linkages and worn bushings.
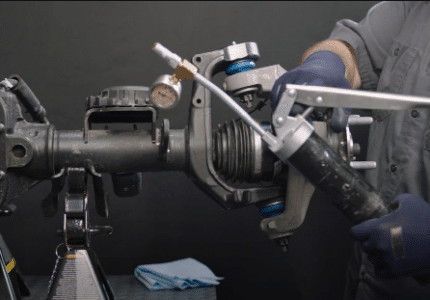
Wheels in the Air Inspection: Have an assistant rock the wheel back and forth with their hands at the 9 & 3 o’clock positions, while you check for looseness or free play in the steering system from underneath the car.
By the Book: To properly inspect the steering linkage, it is always best to consult the diagnostic procedures in the vehicle’s repair manual. This ensures parts are checked to proper specification.
BALL JOINT INSPECTIONS
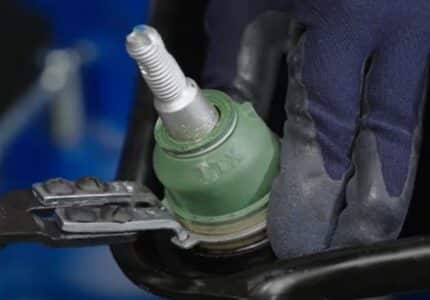
Especially when it comes to diagnosing ball joint issues, always reference the service manual. Inspection and diagnostic procedures will differ according to system type:
- MacPherson Strut
- Double Wishbone/SLA
- Solid axle
- Multi-link
The webinar goes into great detail on how to inspect upper and lower ball joint assemblies, including the seals, dust covers, turning torque, deflection and more.
BUSHING AND OTHER COMPONENT INSPECTIONS
Bushings
Inspect for cracks or tears, leaks, wear and excessive movement.
Stabilizer Bar End Links
Check with weight on the wheels and the vehicle at ride height.
- Ball and Socket Type: Grab the link at the connecting rod and forcefully move in all directions. If free play is felt at either connection point, replace the link.
- Bushing Type: Inspect bushings and replace if they are cracked, worn or show any signs of looseness.
Stabilizer Bar Bushings
With weight on the wheels and the vehicle at ride height, inspect for any gaps between the sway bar and bushing. Grab the sway bar firmly and move it up and down and side to side, feeling for any knocking or movement. Replace the bushing if it is cracked, worn or loose.
KEY TAKEAWAYS
- A road test is a great way to identify issues and help pinpoint worn components.
- A dry-park test is extremely effective for diagnosing looseness in the suspension and steering linkage.
- For everyone’s safety, always replace worn, damaged or broken suspension components.
To see how the above inspections apply to real-world chassis, watch our webinar, Accurate Diagnoses: How to Check for Worn or Loose Chassis Parts.


