HOW TO INSTALL DIRECTIONAL BALL JOINTS
When it comes to ensuring optimal performance and longevity of your vehicle’s suspension system, the installation of directional ball joints plays an important role.
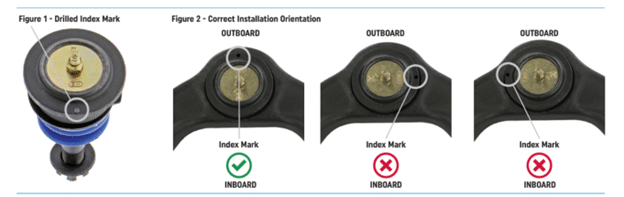
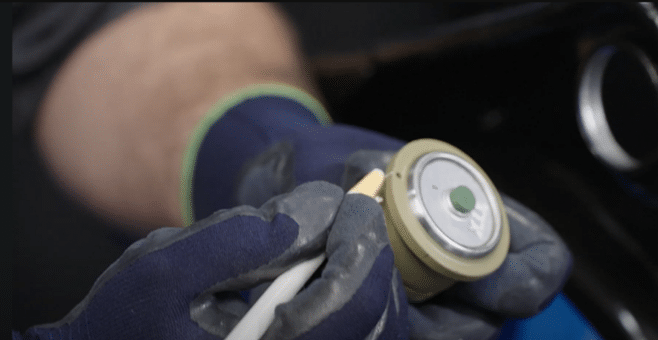
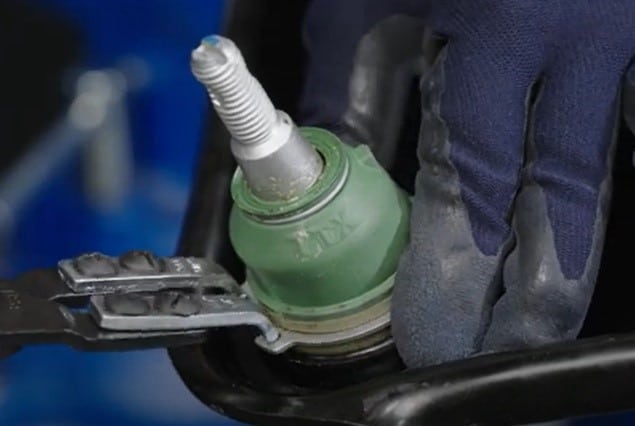
These ball joints feature an elliptical opening that allows for greater swing in one direction and have an indexing mark on the housing to indicate the swing angles. Be sure to inspect the ball joint prior to installing to identify the indexing mark.
Identifying Directional Index Marks
Inspecting the ball joint housing is the first step in understanding its directional characteristics, by identifying the various types of indexing marks. Whether it’s notched marks, flats on the housing, or other indicators, it’s crucial to identify these marks before proceeding with the installation.
Remember, these ball joints predominantly swing in one direction, emphasizing the need for correct installation with the swing perpendicular to the vehicle.
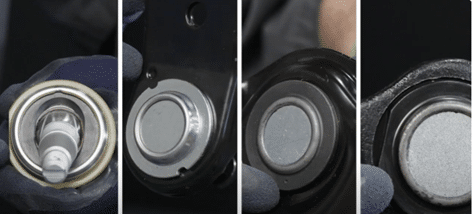
Image 1 shows the elliptical opening.
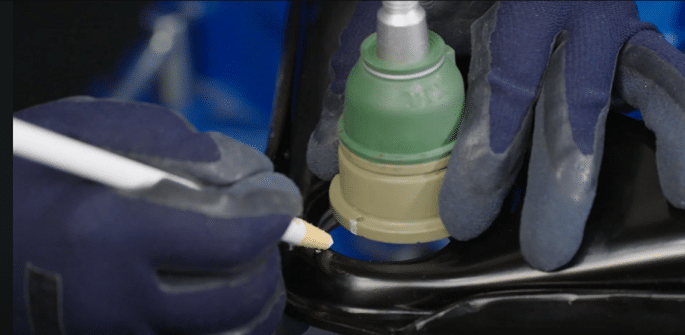
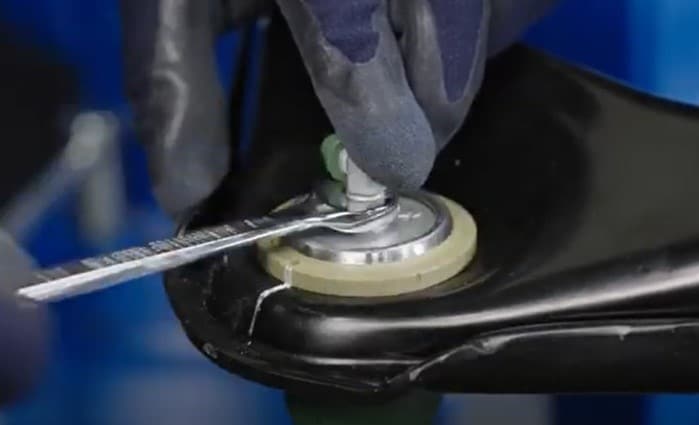
Image 2 shows a double marked part that matches a dimple on the control arm.
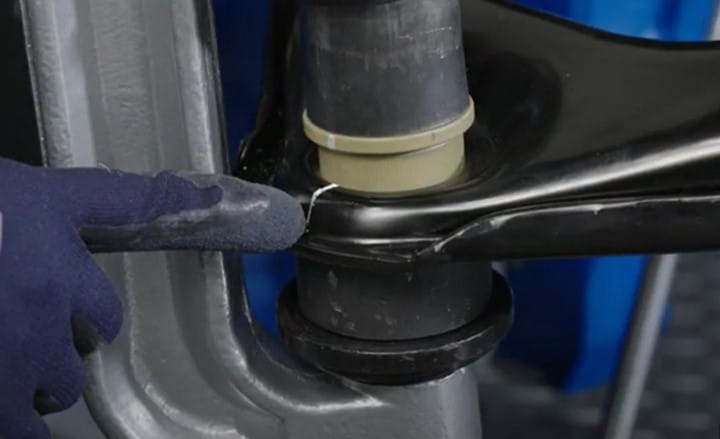
Image 3 shows a single punch mark on the ball joint that matches a mark on the control arm.
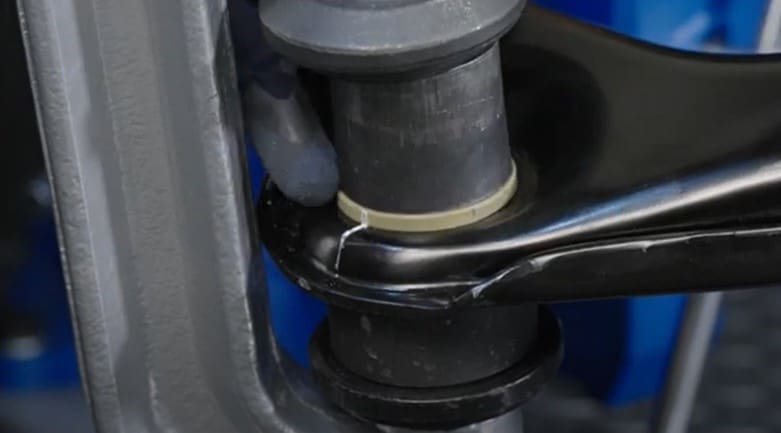
Image 4 shows a cut edge on the ball joint that indicates the direction of the ball joint.
The Installation Process
Now, let’s move on to installing the ball joint. After safely removing the old ball joint, ensure to clean the control arm bore thoroughly, eliminating any rust contaminants and burrs. Additionally, inspect the control arm body for deformations or cracks and ensure the press-in diameter meets specifications.
Mark a reference point on the ball joint flange using a grease pencil. In some cases, the control arm body may already have a pre-existing index mark, simplifying the alignment process. Double-check that the reference marks align before pressing in the new ball joint.
Press the ball joint evenly into place, ensuring the reference marks stay aligned. At this point, install any provided grease fitting or secure the circlip after press-in using appropriate circlip pliers. Place the circlip over the dust boot and into the machined housing groove, ensuring a secure and fully seated position.
By understanding the directional characteristics and following these step-by-step instructions, you can ensure a precise and effective installation that contributes to the overall performance and safety of your vehicle.
Watch the “How To” video, to see the full installation video.
Read the Technical Services Bulletin to learn more.